
How to make Decorative Signs for your Home!
Do you want to make your own decorative signs? These are the easiest things you can make and a simple DIY activity for an afternoon!
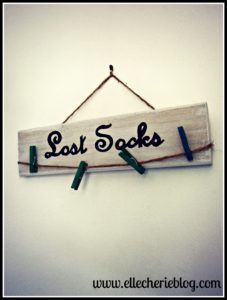
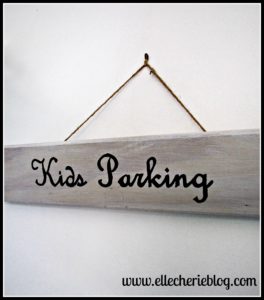
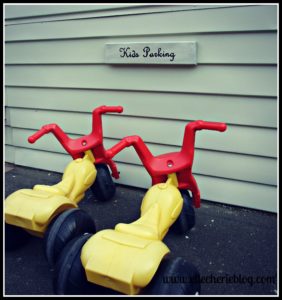
Decorative signs are a perfect blend of creativity and functionality, making them a popular choice for DIY enthusiasts. These signs, like ‘Lost Socks’ or ‘Kids Parking,’ add a personal touch to any space while also serving a practical purpose. Creating them at home is not only a fun and engaging activity but also allows for complete customization to match your unique style and needs. Whether you’re looking to add a bit of humor to your laundry room or organize your children’s play area, DIY decorative signs are a simple and affordable way to enhance your home’s charm and personality.
Post updated September 2024
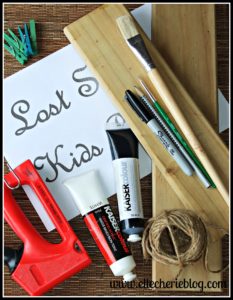
What you need:
- Two pieces of wood (1 x 40 cm in length and 1 x 35 cm in length by 9 cm width). You can use MDF, or if you are like me, I had leftover decking timber that I used.
- Black and white acrylic paint. If you plan on hanging any signs outside then, you could use exterior house paint so it last longer.
- Thick paint brushes & a fine small paint brush.
- Twine or Jute – whichever you prefer.
- Black vivid pen or a Black Paint Pen (you may need a few of these).
- Pencil.
- Pegs (Craft shops and Amazon sell the ones like I used).
- Staple gun with staples.
- Print off the ‘Lost Socks’ & Kids Parking’ word template – Lost Socks & Kids Parking template Or feel free to create your own.
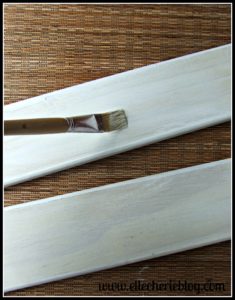
Step 1
Paint the piece of wood with the white acrylic paint – I like the wood to have a washed out look, so I only did one coat.
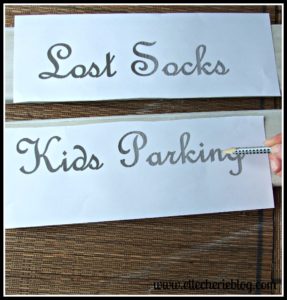
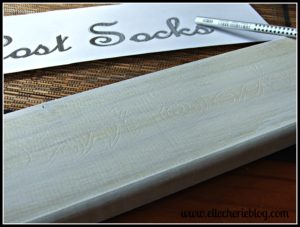
Step 2
Cut the print off in half and place each piece on top of the wood. The lost socks sign goes on the smaller piece of timber, and the kids parking sign goes on the larger piece. Trace around the lettering with pencil – press reasonably firm as this will leave an indent in the wood.
Step 3
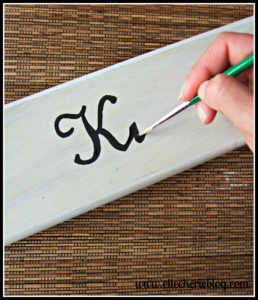
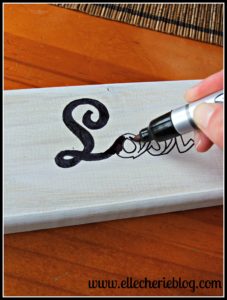
Time to paint or color in the wording. You can either use black paint or the vivid black pen to color in the words. I have done one in each, so you can see how each one looks. I prefer the black painted one. However, it’s whatever you are most comfortable in doing.
Step 4
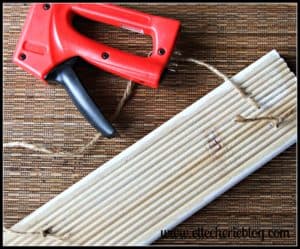
Cut three pieces of twine or rope, this is what you will use to hang the signs and attach the pegs too. Attach two pieces to the ‘lost socks’ sign with the staple gun and attach one piece (with the staple gun) to the ‘kids parking’ sign (if you choose to hang it).
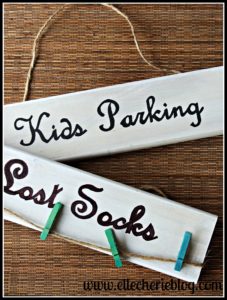
The photo above left shows where I stapled my twine/rope too. The piece of twine/rope that will be used for the pegs needs to be attached to the back of the sign then brought around the front of the sign and connected to the back again with the staple gun (see left bottom photo to get what I mean).
For extra strength, you can tie a knot or two of the twine/rope around the staple. After everything is secure, you can attach your pegs.
Step 5
And there you have it two signs ready to hang up! These are easy to put together, look great and can make a neat little present for someone too.
How did your decorative signs go?
Did you have a go at making one of these?
Check out how to make the best Kids Cubbies!
Don’t forget to save this post to your DIY board on Pinterest





3 Comments
Deedra
I need to make a lost sock sign. Everyone in this house seems to have lost a few more than once. Thank you for the inspiration. If you ever need some, I host blog dares, I invite you to come over and check it out. Have a great day.
Deedra http://atmycounter.blogspot.com/2015/10/october-dare-is-on_13.html
Elle Cherie
Thank you for visiting and your comments. They are super simple to make and are really handy. I’m thinking of making one for each child since they are always losing socks! Your blog sounds really interesting – I will definitely check it out!
Kristofer Van Wagner
This post made an excellent point that signs can be useful in decorating our home. My wife mentioned she would like to have signs made. I will definitely share with her this article for her to plan.